The girls and I went next door to our friend Allison's house, to watch her make soap today. Now readers, this lady can make some soap --
gorgeous soap:
Yeah. What'd I tell you? She has lemon-poppyseed, patchouli (whatever that is, but it sounds cool!), lavender, honey/oatmeal. I forget what all. They're beautiful. Is it still a sin if you covet your neighbor's SOAP?
Here are two books (by the same authors) that she has used as resources.
Before we get into the soap-making process, here are some pics of her wares. She cuts some of her soaps with a potato cutter for those fun ridges. She also grew some loofas. Next year, she wants to grow a lot more to sell; she saved some seeds from this year's plants (and gave a bunch to us too!!)
Isn't this one adorable? It's colored with paprika, and scented peppermint. And look below for what she used as a mold ....
.... these muffin "tins"!! You know -- the ultra-flexible ones that look so flimsy? Well, they're great for soaps apparently. Fun shapes and patterns. I love these. She said she got them for $1 each, on sale.
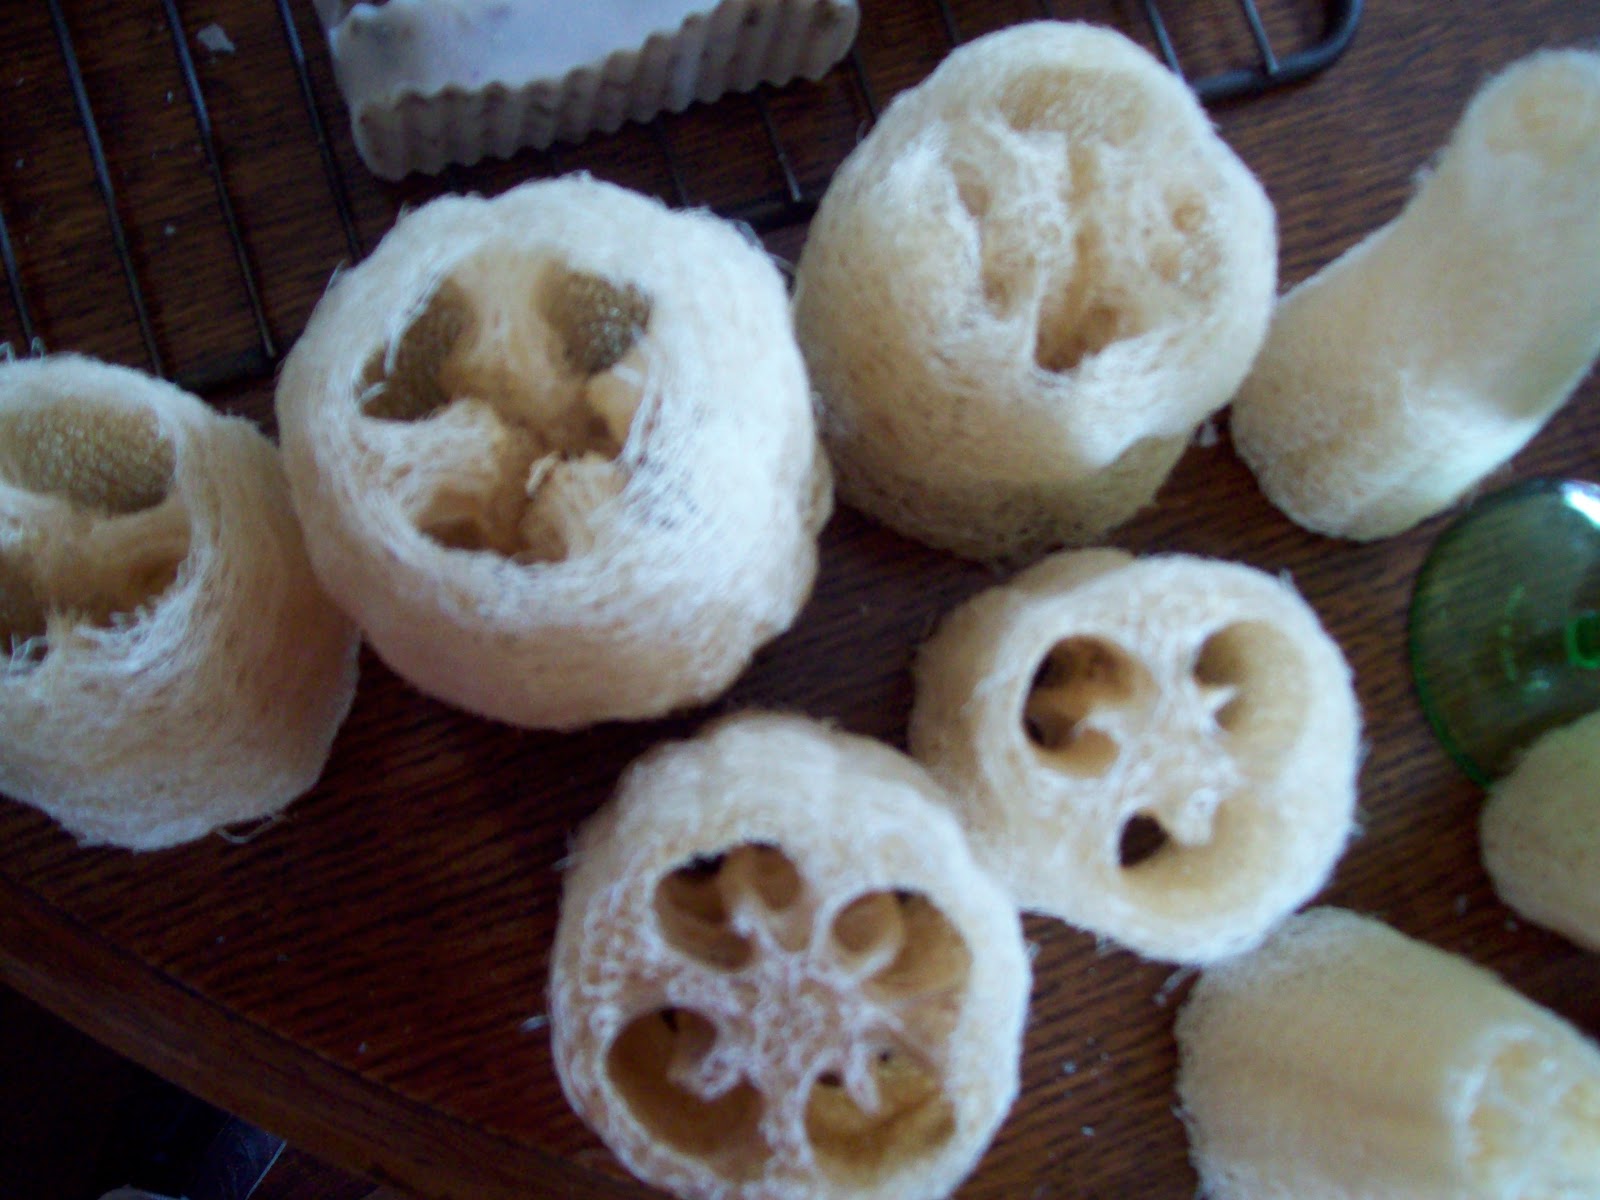
Here are the loofas. One "recipe" indicated to put the loofas into the long, round molds (pvc pipe works well), and pour the liquid soap in, filling all the crevices in the loofas. When the soap sets up, take the whole thing out, and cut the loofa/soap in slices, as you would for the regular soap. Then, each soap has its built-in loofa with it! What a great idea!
Okay, okay. Now to business! She found this wooden mold box in her out-building. It's perfect. She lines it with freezer paper. Don't use metal, as the lye will react with it. Parchment paper would probably work too.
She lined it thoroughly, and taped the lining down.
She bought a digital kitchen scale for weighing her ingredients. Here, she puts in coconut oil. She also used all-vegetable shortening and olive oil. Put these into a stainless steel pot that you won't use for anything but soap-making.
Then we proceeded outside for the lye-making. You need ventilation for this, and gloves, and glasses/eye protection. Lye can be very dangerous. (The label said, if you don't understand all the warnings, return the product to the store. Seriously. We all howled about that one.)
She carefully weighed both the water and the lye. She then slowly poured the lye into the water (not the other way around!!), and stirred it until it began to clarify. Then we left the lye mixture outside to cool off. The lye heats the water to about 250 degrees -- I know! Crazy! I'm glad the kitties didn't decide to take a sip.
Then she heated the oils on the stove to melt them. When she added the lye to the oils, they both were around 110 degrees.
Adding the lye carefully - don't splatter! She also has a hand-held drink mixer, the perfect tool for this job. Without this device, the stirring would take about 4 hours, to get the soap thickened. With this little mixer? About 10 minutes.
Very quickly, it began to thicken and look creamy. It looked like caramel. It made me hungry, I'm sorry to say.
You want to get the mixture to the "trace" stage -- i.e., when you pick the mixer up out of it, and let some drops dribble down, they should sit on the top, not drop down through the surface. That's "trace." Here, Allison adds some essential oil. This one has a combination of lemon, orange, sage, and I forget what else. She also stirred in a powder of comfrey leaf.
And then we scraped it into the lined mold, and covered it over with a towel. It looked yummy. I thought it looked perfect without the powder, because the olive oil made it a warm yellow, but Allison is going for a slightly green color in this batch.
I need to get a scale, some lye, and a mixer, and then I'm itching to try this myself! She made it look so easy -- thanks, Allison, that was a GREAT science lesson for all of us!


1 comment:
wow! what fun! i, once again, find myself wishing i was your neighbor! (patchouli is one of my favorite scents! joanna marquis always wore it.)
Post a Comment